Setting up a Raspberry Pi 3
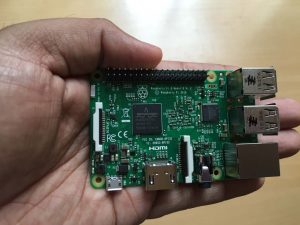
In continuation to learning and exploring IoT I bought a Raspberry Pi 3 recently. Raspberry Pi is a credit card sized computer(I am not joking. You can see it in my palm below) capable of doing every possible computing. It can efficiently run your programs written in languages like Python, Java, etc.
Pi 3 is the latest model of Raspberry Pi and just launched few months ago. It costs just $35 and offers following configuration
- Quad core processor
- 1 GB RAM
- Wi-Fi
- Bluetooth
- HDMI Port
- 4 USB Ports
- GPIO Ports
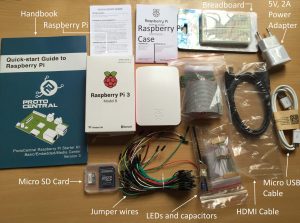
Raspberry Pi comes in form of just a board and doesn’t included anything else. It uses Micro SD card as storage and requires external power supply so you need to have both available with you. If you are just getting started like me then buy a complete kit. I bought Raspberry Pi 3 Starter Kit by ProtoCentral.
The kit contains following items
- Raspberry Pi 3 Model B
- Raspberry Pi case
- 16 GB Micro SD card preloaded with NOOBS
- 5V, 2A USB power adapter
- Breadboard
- HDMI cable, Breadboard jumper wire pack
- LEDs and capacitors pack
As my micro SD card has NOOBS pre-installed, I don’t need to load anything else into it. NOOBS(New Out Of Box Software) is an operating system installation manager for Raspberry Pi and it is required for first time installation. Follow the instructions at NOOBS setup if you are using your own micro SD card or require a fresh installation.
Now, I just need a mouse, keyboard and display.
Lets jump into the setup
- Insert Micro SD card into the slot
- Connect mouse, keyboard
- Connect to display with HDMI (I am using my TV)
- Connect power adapter
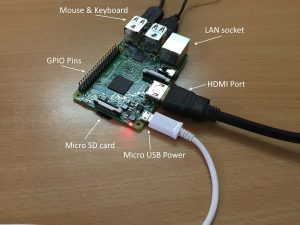
That red light shows the first sign of my success. 🙂 Lets see what is running on the screen

Sorry for the image quality here. I have taken shots of my TV screen which didn’t result in good quality.
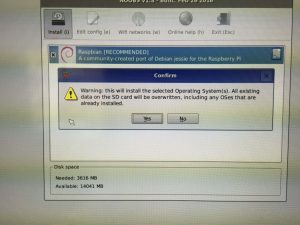
NOOBS has started its job. It is asking for the operating system option to choose for installation. By default it has the option of Raspbian which is the official supported operating system for Raspberry Pi based on Debian Linux. You can install other operating systems like Windows 10 IoT Core or any of options available at Raspberry website but it will require flushing of the Micro SD card and new NOOBS setup.
Lets continue with Raspbian
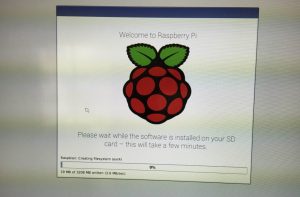
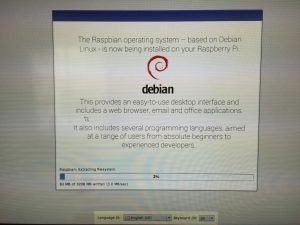
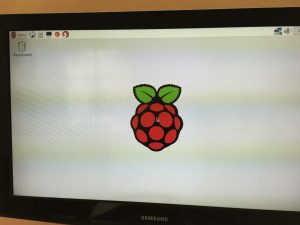
With the wait of few minutes for installation, Raspbian is ready
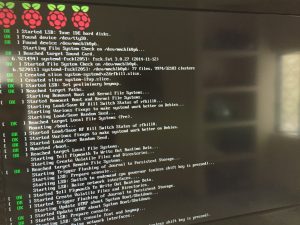
Did you notice the four raspberries at the top of boot screen? It shows the four cores of the processor. It is all set up and running now.
Going further I also lit up the LEDs with the help of breadboard and GPIO ports but the process can be better explained by a video than a blog post. I hope to make and share one soon.
Being a small and inexpensive computer Raspberry Pi can be used for many things. It was first created with the motto of providing computer and programming education to kids.
As we have seen earlier that the Raspberry Pi comes with GPIO pins on board and due to this extensibility it is a perfect candidate to become an IoT device. We can do many things with the help of GPIO pins like attaching sensors and collect data received from sensors. Overall this device looks small but it definitely opens doors of opportunities for us.
Hope you have liked reading this article. Keep sharing and feel free to ask any questions you have.